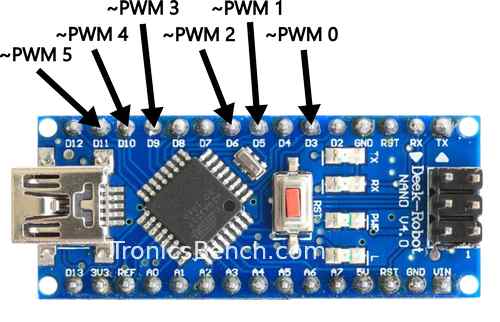
Arduino
Interface Hardware: Find out exactly how to interface
Arduino Microcontrollers to inputs
and outputs. Included here are some
unusual techniques like Charlieplexing.
Arduino Interface Hardware:
This page provides a collection of useful interfacing
techniques including:
Button Input Debouncing (get a
single output for a single press!).
Charliplexing (Save pins when driving LEDs).
Rotary Encoder Debouncing (more difficult).
Serial Interface Protocols.
Why is Switch Bounce bad?: Arduino
Interface Hardware
Find out what causes switch bounce and why your
microcontroller will have a problem with it! The real
problem is the spring in the switch but a bigger problem
is the microcontroller itself...
You may be surprised when you first accept input from a
push button, that it does not just generate a clean
output but actually
generates a lot of on/off signals in a very short space
of time.
If you are not careful, a single button press can
result in your code counting up 10's of button presses.
This is obviously not
useful if you want to increment a variable by one!
You have to get the switch under control and the link
below shows you some easy ways to do it.
You don't need to buy a toggle switch as it is possible
to
make one using only a push button and a microcontroller.
A physical
toggle remains in which ever state you leave it i.e. it
has
memory!
Making a toggle switch from a push button just requires
the Arduino to remember the current state of the switch.
A Joystick is one of those thumb controllers on a game
pad. they provide x-y positions of the joystick by moving
two potentiometers - one for
each axis.
This tutorial showing you exactly how to read the
outputs of the potentiometers but makes it simpler by
using a new library.
The fact that a reverse biased LED
is a diode that stops current flow.
Combined with the ability of microcontrollers to change
an
input to an output on the fly the circuit current flow
can easily be
altered to light specific LEDs, but more importantly you
can control
more LEDs than there are controlling pins!
One problem you will come up against is the fact that
your
system uses 5 volts and the chip you want to use must
only have 3V3
(including the control signals). Its ok if the signals
are all going to
the 3V3 chip as you can then use voltage dividers.
The problem comes if you need to change direction with
the
same signal. Fortunately, there is a very elegant
solution using two
resistors and a MOSFET!
It's not the first thing that comes to mind when using
a rotary encoder:
They just don't work right -
producing all kinds of spurious signals.
Even though they use Grey encoding (that ensures only
on
signal changes from one movement to the next) they are
still an absolute pain. It's all due to switch bouncing
inside the device as the metal
contacts bounce on and off the substrate when you rotate
the shaft.
There are several solutions such as capacitor smoothing
but if you don't want to slow things down too much a more
elegant solution is to use a
state machine. In the code below you can get your rotary
encoder to
reliably output single digit changes with absolutely no
skipping.
This page gives you a high level view of what the protocol is and how
it works, and why you need it - think saving wiring. You can put
multiple devices on a single I2C two wire bus.
It goes over master and slave operation and explains the two ways
that I2C can under perform in your system (and what to do about it).
This page goes over the I2C protocol in more detail showing you timing diagrams and I2C commands; and how they are used.
The I2C protocol saves you a lot of wiring as it is a 2
wire interface. Not only that, it is also a multi-drop -
multi master
system with bi-directional communication (Remember that
logic level
converter?).
The I2C protocol allows communication in both
directions between the
master controller and slave devices so you can have very
complex systems e.g. gathering data from an ADC and
sending data to a display; all on
same two wires.
The SPI interface is a much simpler interface than I2C,
but
because it is simpler it can operate far faster e.g. a
typical I2C rate
is 400kHz but SPI is 10MHz. Updates to I2C let it go at
~3MHz but never
as fast as SPI.
Lots of chips implement SPI for this reason; Sometimes
you
have to get a faster data throughput at the expense of a
"fancy"
protocol.
A PIR sensor lets your Arduino sense movement without contact. This tutorial covers PIR sensor basics, connecting one to an Arduino board and coding a motion detector.
Arduino Hall Effect Sensor: Add magnetic sensing superpowers to your Arduino projects with an easy-to-use hall effect sensor. With full code and layout...
Get started with an Arduino humidity sensor using the DHT11, which reports both humidity and temperature. Complete guide with full code for using this sensor


Comments
Have your say about what you just read! Leave me a comment in the box below.
Don’t see the comments box? Log in to your Facebook account, give Facebook consent, then return to this page and refresh it.